Wednesday, March 27, 2019

Old Cabinet Door Resin Pour

My husband brought home this cabinet door.  He said, I thought you might could use it in one of your crafts.  So, I did.

I sealed the interior edges so that my resin would not leak out........  because believe me........resin will find a pin hole and be all over the place.  Ask me how I know!

I used several colors of mica powders.  And several colors of glitters.  Mixing up small cups of the colors.  I poured them onto the cabinet door.

Of course I sprinkled on extra glitter to the larger color areas to break up the big color splotches.

Before the resin had time to set, I went around some of the color edges and used some gold and silver beads.

After this layer dried, I used my silver and gold paint pens to paint lines.  Then a final coat of resin was poured on.


And finished.  Painted the edges in a metallic gold paint.


Tuesday, March 26, 2019

Silver Free Form Geode Resin Pour

It's so hard to get pictures of these resin pours.  

The big white blob toward the bottom right corner is glare........

This was also a free form geode.  We both thought that the one that I did for my niece turned out good.  So my husband made me another frame for this one.  

The silver free form geode stopped at the dark gray stones.  

The dark gray stones where pushed up next to the silver free form geode.  Then 3 different colors of broken glass after that.  I put some of the large glitter in a couple of areas.  Formed another smaller looking geode out of stones in the bottom left corner.  Mixed resin with some mica powders and filled in the other areas.

Did basically the same thing on this one by adding more glitter, spritzing with alcohol inks and dribbling with silicone.


this picture has a shadow of my arms up in the air along with 2 glare spots


On this frame my husband made, I used white chalk paint and dry brushed some dark gray and moss green.

I ended up adding 2 more layers of resin to this one to be able to coat the top of the stones.


One thing about resin............You never know how your final picture is going to end up.  I have hated several of the ones I worked on.  I poured the resin, then messed with them until they started to get too tacky.

Using the silicone and alcohol inks - plus a heat gun has changed them into pictures that I ended up liking.

Friday, March 22, 2019

Pink Free Form Geode Resin Pour Picture

The free form part is from the fushia pink glitter ring toward the stones in the middle.

I used silicone caulk and to make a design on a piece of plastic.  Then I poured the resin over the center stones and poured the rings with resin mixed with color and glitter.

After I took it loose from the silicone it was a thin geode disc of sparkly, glittery resin.

I decided to frame the free form geode.   My husband built the awesome frame.  I used Ballet Pink Chalk Paint and smudged it with a little white.  My husband also suggested smudging a little green on it too.

I then mixed up some more resin and added mica powders to several cups and pour resin around the free form geode.  After I had the colors poured, I sprinkled on some extra glitter in some places.  I also dotted the resin with some colored alcohol inks and finally with some silicone oil.

The silicone oil creates feathering and whirls in the resin.


The oil will work it's way to the top of the resin.  Before pouring more resin, I clean the surface of all oil or the next layer of resin won't flow correctly.

So once it was dried and cleaned, I applied a final clear coat of resin to seal in the glitter I sprinkled on top.  This also gives the lower layer more depth.


outside in the light so you can see more of the color and texture in the resin

Thursday, September 6, 2018

Friday, August 24, 2018

Red Resin Pour

I think this one is 16 x 16

I like the feathering of the colors


there is red and gold glitter suspended in the resin


lol..........  this one had some inclusions in it that were not deliberately put in there
some lint or something that looked like a hair, probably cat hair

any way using the dremmel, I drilled out the unwanted extra's which of course left scuffed spots and messed up spots on the piece

but, the beauty of resin is that if you pour another layer it will cover up the places that you fix


Thursday, August 23, 2018

2 small resin pours

These are small 
approx size is 6 in. x 8 in.

It was hard for me to get a flow going trying to do a small board with stones

it might have been easier doing a small board if you are only doing colored resin
or resin mixed with glitter


Wednesday, August 22, 2018

A different pour experiment

this one was done using clear glue.  The lady doing the youtube video claimed this was a way to get a resin pour without the high cost of buying resin.  Not even close to me.


I mixed gold, green and silver glitter in the glue
Also used were stones, broken 1/2 gem marbles in different colors and mother of pearl pieces

I made this one on a piece of luan wood.  It soaked up the glue and started to separate into layers around a couple of places on the edge of the wood.  Probably would have worked better on birch.  But the luan was too thin.

I don't like that the glue flattened out so much.  I like how resin stands up and your inclusions can be seen thru the resin.

this picture with no flash


picture with flash


Wednesday, August 15, 2018

Resin Art #5 - Mermaid

I used alcohol inks for the colors on her body
there is silver, gold and rose copper foil on her tail
a silver star glitter on the star
her face has a mica flake glitter on it
Her hair was poured with resin that contained several colors of mica powder


Tuesday, August 14, 2018

Resin Art #4 - Serving Tray

I drew the white, silver and gold lines with Japanese Paint Pens
Posco markers in case you want to google them

there is some silver foil under the silver and orange Pearl Ex portions
lots of different glitters
and the other colors were created with Mica Powders


The silver and the gold in the corners is large flake glitter from Michael's


Monday, July 16, 2018

Resin Pour #3

I used what I call peacock colors for this one

This piece is 16 x 16

Alcohol Inks were mixed into the resin along with glitter
The glitter color matched the alcohol ink color

Broken 1/2 gem marbles and golden mosaic glass was also used
Silver alcohol ink was added to the middle of the picture

After the initial pour dried I brushed on clear resin to the piece


Thursday, July 12, 2018

Resin Geode Art #2

11 x 12

this one was made the same as the other one - 
except I did not use any mica powder or acrylic paint mixed into the resin 

I mixed a large quantity of 2 part resin.  It was divided into several smaller cups.
Then colored glitter was added to the resin cups.

after pouring all the colors, I added blue alcohol ink to the center and pulled it thru the center and out to some of the other rings


in the sun


Wednesday, July 11, 2018

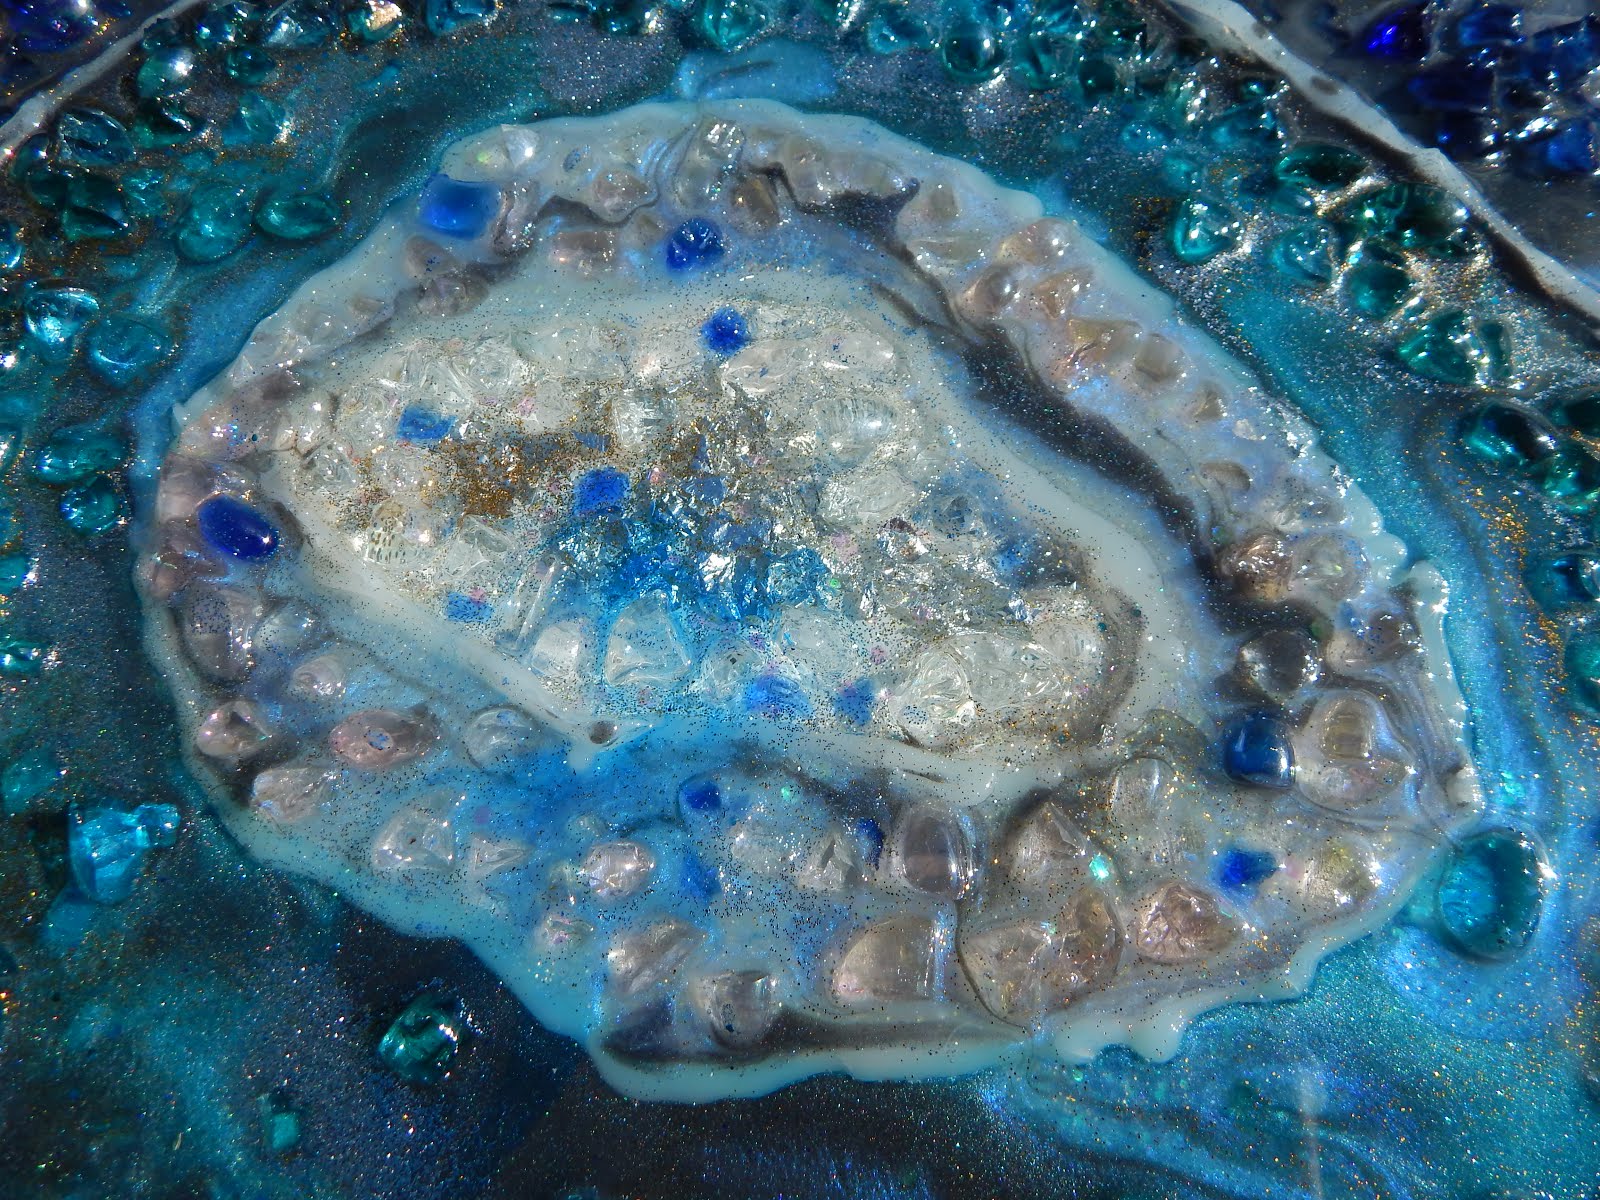
Resin Art #1 - Turquoise/Blue/Gray Geode - Experiment in Resin


in the sun


board was prepped by roughly painting a geode
white/light blue/medium blue and dark blue areas
100% silicone was caulked on to create a dam around each color
3" Scotch Tape was put around the edges of the board to create a border

resin was mixed per package
each cup received the 2 parts of resin - glitter - mica powder and some received acryllic paint
I used 5 cups and made 5 colors of resin/glitter - light silver, light blue, Turquoise blue, Dark Blue and a dark gray
1/2 gem marbles that had been cracked (heated then cooled) were broken up

starting at the center, I poured the lightest resin and added some of the broken 1/2 gem marbles
In the very center I added silver leaf foil and worked it into the resin with a craft stick
resin was added to the entire piece - from light to dark resin
the gray was worked into each section

there are several colors of 1/2 gem marbles on the piece
also, there are several different colors of glitter that was sprinkled on after all the resin was poured

I liked my first attempt at using resin.  I'm looking forward to my next piece.


Tuesday, July 10, 2018

Sea Glass and shell mosaic

I found this trivet at a garage sale

It was originally going to be used in a table wreath, but then I decided I didn't want to take up the counter space for it to sit on


Here it is with all the tesserae put on
There will be no grout
I painted the board with metallic glitter paint and sprinkled on extra silver glitter


After taking it outside for the above photo, I thought the trivet looked boring


I pulled out my collection of Vintaj Patina paints for metal

and added some color to the trivet


I like it better and it seems to blend with the other colors better


materials used on this project:
a metal trivet
seashells from my sister
half gem small and large marbles
glass pearls
sea glass and tumbled glass
several pieces of garage sale jewelry

Monday, July 9, 2018

Water and Sand #2


several colors of stained glass
gold back painted stained glass
pieces of mirror
shells
rocks
beads
glass pebbles
sandstone grout

Double Horseshoe Mosaic


2 horse shoes
White stained glass
wood patterned ceramic tile
pieces from several patterns of dishes and other bowls or vases
1/2 gem glass marbles
rocks
mother of pearls pieces
glass faux pearls
acrylic gems
a fleur-de-lis piece of jewelry
sandstone colored grout